Zombie Dirt Pudding Cups
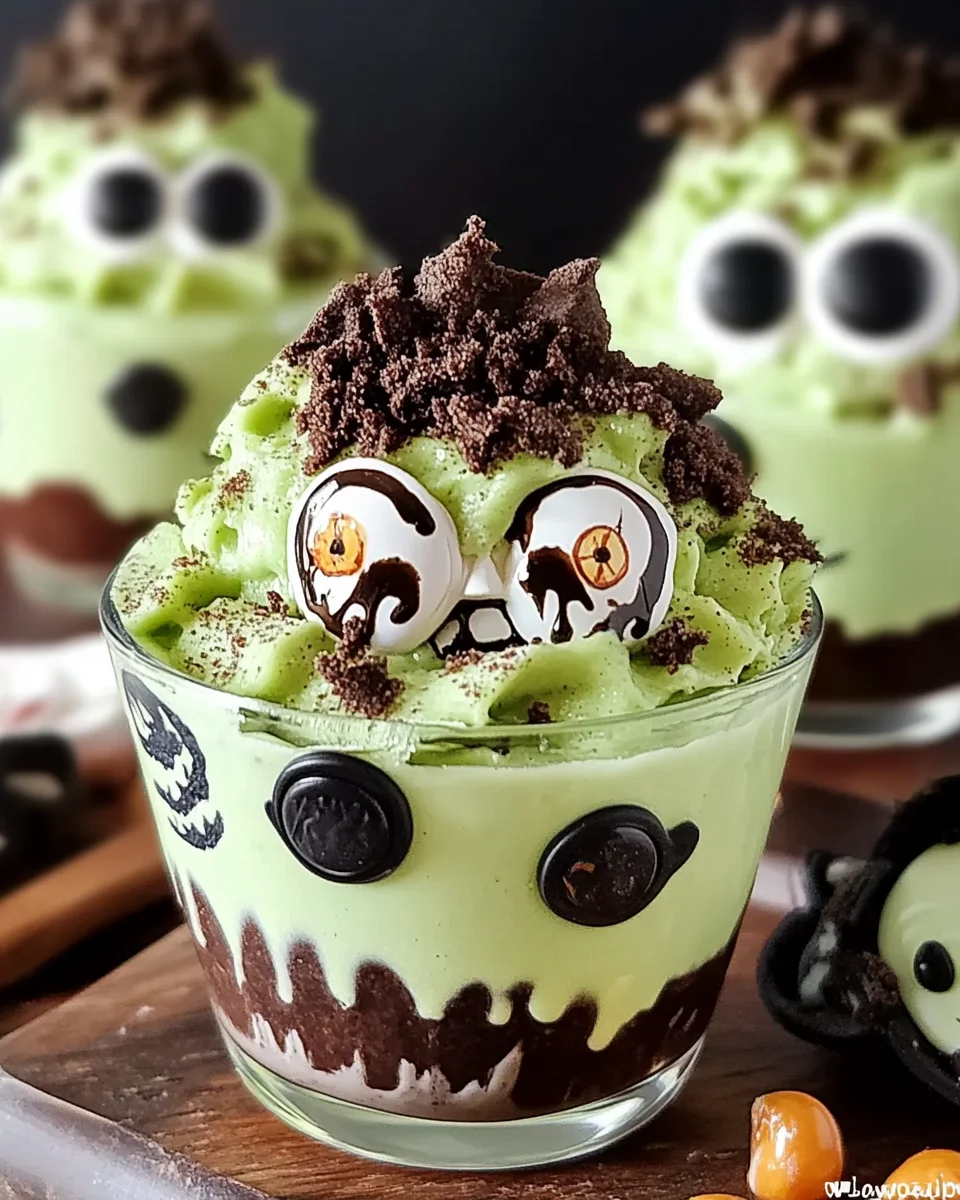
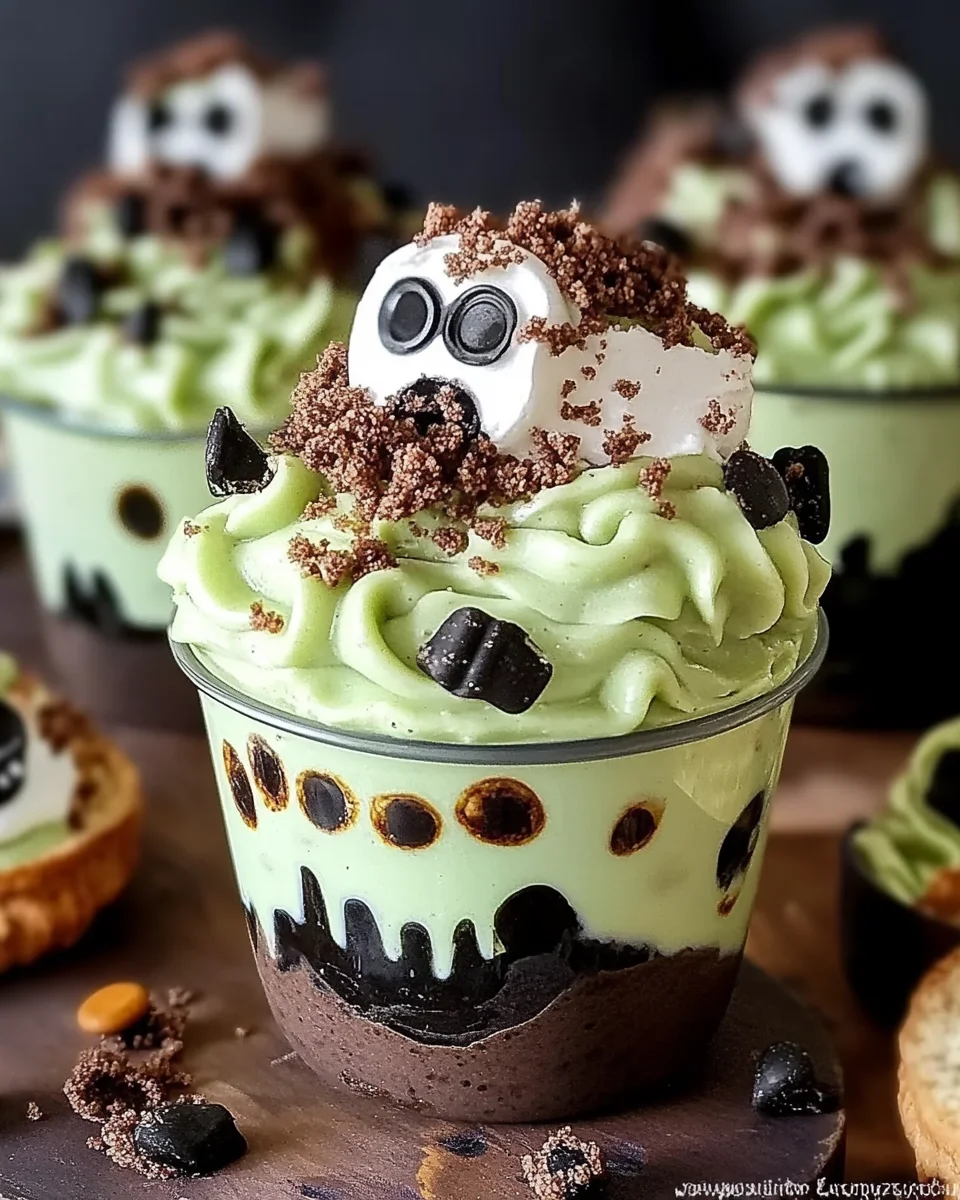
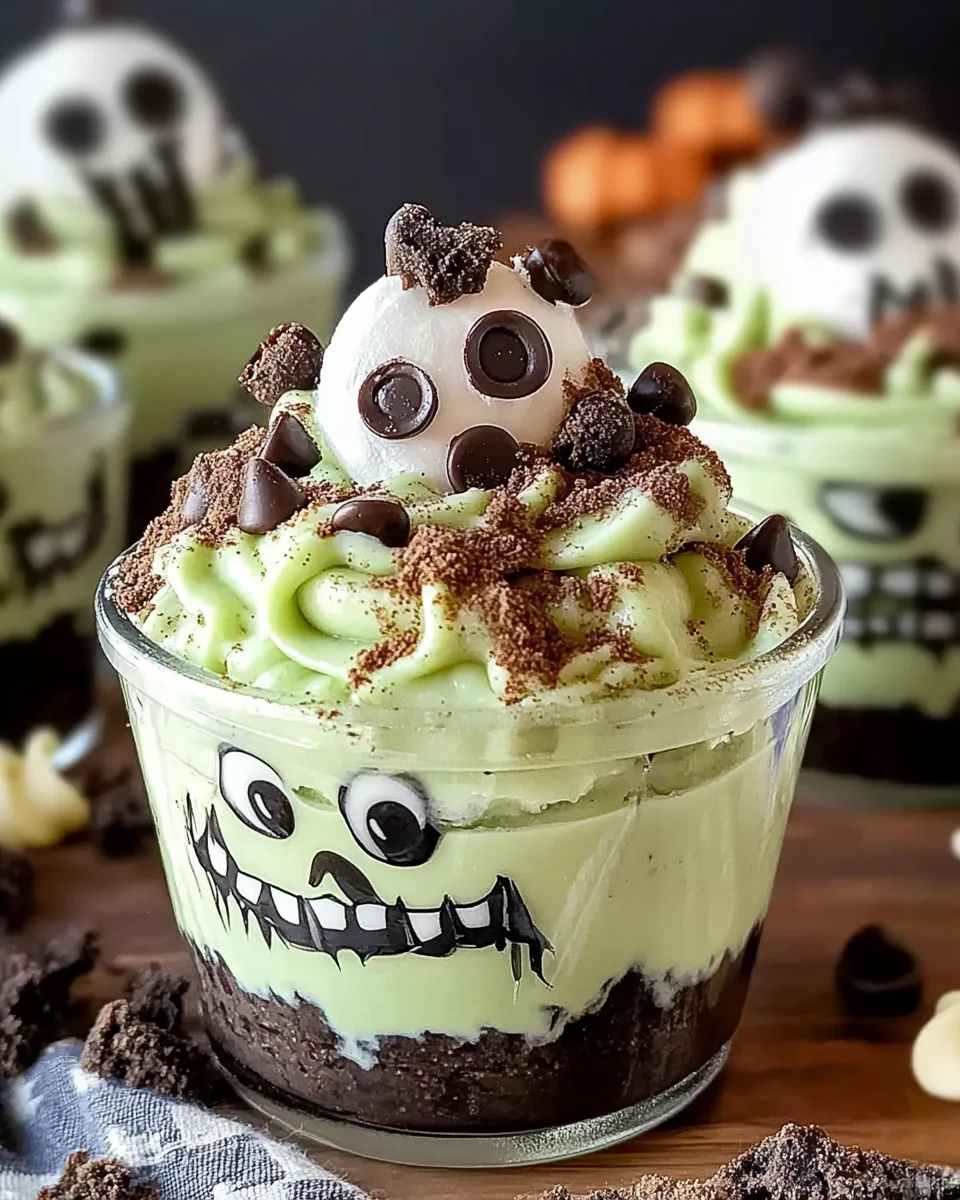
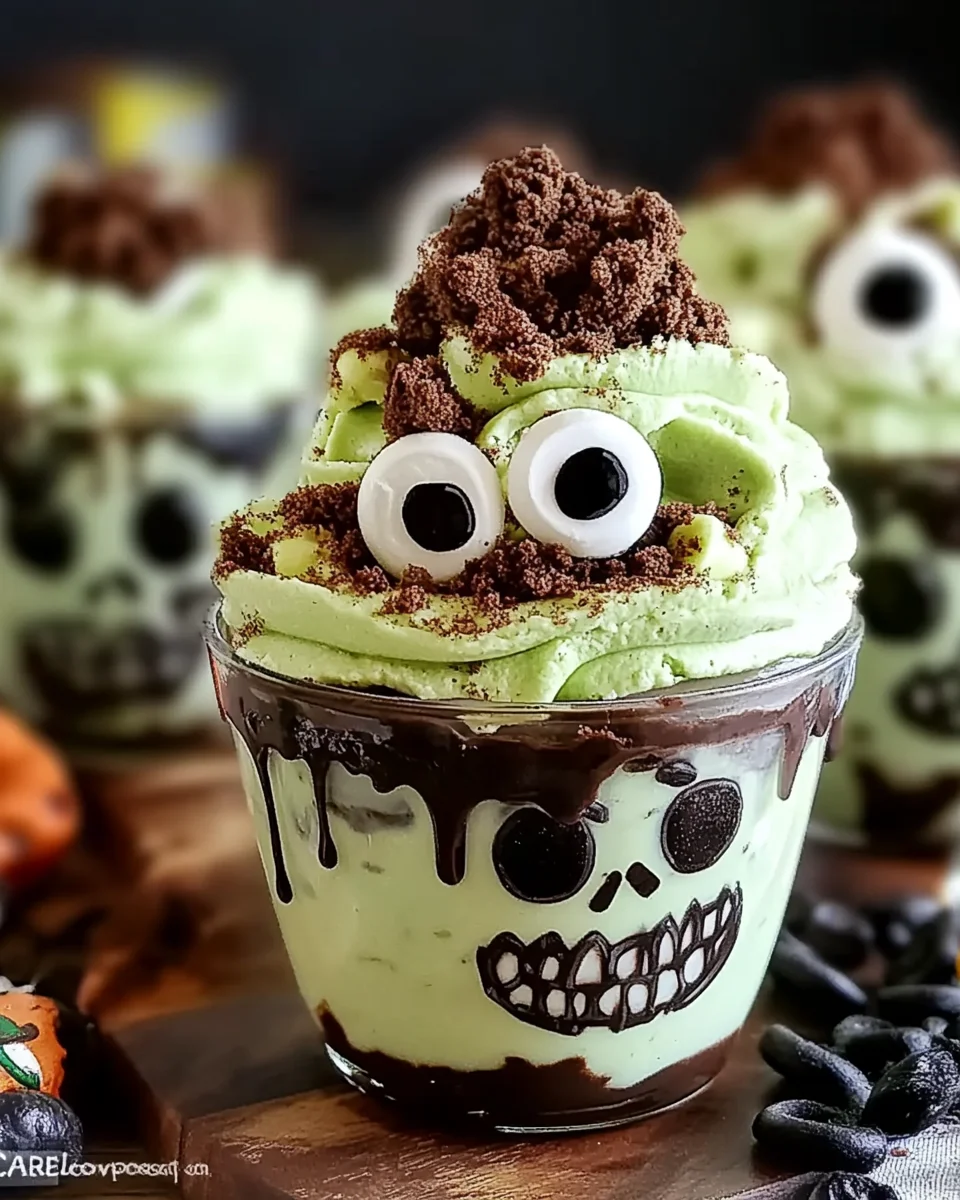
Learn to make Zombie Dirt Pudding Cups that are sure to impress at your next Halloween gathering! These delightful no-bake pudding cups feature layers of Mint Oreos and vibrant green pudding, topped with spooky candy eyeballs. Perfect for parties, kids’ gatherings, or any festive occasion, these treats combine fun and flavor in a way that’s both creative and simple. With just a few ingredients, you can whip up these charming desserts that will have everyone asking for more!
Why You’ll Love This Recipe
- Easy to Make: This recipe requires no baking, making it a quick and hassle-free treat.
- Deliciously Unique Flavor: The combination of Mint Oreos and white chocolate pudding offers a delightful twist.
- Perfect for Any Occasion: These cups are great for Halloween parties, school events, or themed gatherings.
- Fun Presentation: The candy eyeballs add a playful touch that kids and adults alike will love.
- Customizable Layers: You can mix and match the layers to suit your taste preferences.
Tools and Preparation
Before diving into this fun recipe, gather the essential tools you’ll need. Having everything ready ensures a smooth preparation process.
Essential Tools and Equipment
- Food processor
- Mixing bowl
- Whisk
- Serving glasses or cups
- Spoon
Importance of Each Tool
- Food processor: This tool makes crushing the Oreos fast and easy, giving you the perfect dirt-like texture.
- Mixing bowl: A large bowl is essential for combining the pudding mix with milk and food coloring thoroughly.
- Whisk: A whisk helps achieve a smooth consistency in your pudding without lumps.
Ingredients
Learn to make Zombie Dirt Pudding Cups with layers of Mint Oreos, green pudding, and candy eyeballs. A fun and spooky Halloween treat!
For the Pudding Cups
- 18.7 ounce package Mint Oreos (39 cookies)
- 3.3 ounce box Instant white chocolate pudding mix
- 2 cups whole milk, chilled
- 6-8 drops green food color
- 8 ounce tub Cool Whip, thawed
For Garnish
- 8-12 large candy eyeballs
- 8-12 small candy eyeballs
- Bone or skeleton sprinkles
How to Make Zombie Dirt Pudding Cups
Step 1: Prepare the Oreo Cookies
Gently twist one side off 12 of the Oreo cookies so that the filling remains intact. Set these cookies aside with their exposed filling.
Step 2: Crush Remaining Oreos
Crush the remaining Oreos into a fine dirt-like texture using your food processor. Set this crushed mixture aside for layering.
Step 3: Mix Pudding Ingredients
In a large mixing bowl, whisk together the chilled milk, instant white chocolate pudding mix, and green food coloring. Continue whisking for 1-2 minutes until the pudding thickens.
Step 4: Fold in Cool Whip
Carefully fold the thawed Cool Whip into your green pudding mixture until combined well.
Step 5: Layer Your Cups
Start by sprinkling 1-2 tablespoons of crushed Oreos into the bottom of each serving glass. Add a layer of the green pudding on top. Repeat layering crushed cookies and pudding until you reach the top, finishing with a layer of crushed Oreos.
Step 6: Chill Before Serving
Place your completed pudding cups in the refrigerator for about an hour to allow the pudding to set properly.
Step 7: Create Zombie Decorations
When ready to serve, gently press one large and one small candy eyeball into each cookie’s exposed filling. These will be your zombie decorations!
Step 8: Final Touches
Press each cookie zombie upright into the pudding cups. If desired, sprinkle bone or skeleton sprinkles on top for an extra festive touch.
Now you have delicious Zombie Dirt Pudding Cups ready to be enjoyed!
How to Serve Zombie Dirt Pudding Cups
Zombie Dirt Pudding Cups are not just a treat; they’re an experience! These spooky cups can be served in various fun and creative ways to enhance your Halloween gatherings. Here are some serving suggestions to make your dessert the star of the show.
Individual Serving Cups
- Use clear plastic or glass cups to showcase the layers of green pudding and crushed Oreos. This presentation adds a visual appeal that will delight your guests.
Spooky Centerpiece
- Arrange several Zombie Dirt Pudding Cups on a themed serving platter. This eye-catching display can serve as a centerpiece for your Halloween party, drawing attention from all attendees.
Party Favors
- Package individual cups in jars with lids, making them perfect for guests to take home. Add a spooky label for an extra touch!
Themed Decorations
- Decorate the serving area with Halloween-themed items like fake spiders or cobwebs. This enhances the theme and creates an immersive experience for those enjoying the dessert.
How to Perfect Zombie Dirt Pudding Cups
To ensure that your Zombie Dirt Pudding Cups turn out perfectly every time, consider these helpful tips.
- Use chilled ingredients: Start with chilled milk and Cool Whip for a better texture and quicker setting time.
- Crush Oreos finely: For the best “dirt” effect, ensure that the Mint Oreos are crushed into a fine powder; this will mimic real dirt and enhance the look.
- Adjust food coloring: Add food coloring gradually until you achieve your desired shade of green—this allows you to control the color intensity.
- Layer carefully: When layering pudding and cookies, take your time for neat layers. This makes each cup visually appealing when served.
- Chill before serving: Allowing the pudding cups to chill for at least an hour helps set everything together, ensuring a delightful texture.
Best Side Dishes for Zombie Dirt Pudding Cups
Pairing side dishes with your Zombie Dirt Pudding Cups can create a balanced menu. Here are some fitting ideas that complement this spooky dessert beautifully.
- Witch’s Brew Soup: A vibrant green soup made from spinach and peas, adding a whimsical touch to your meal.
- Mummy Hot Dogs: Hot dogs wrapped in crescent roll dough and baked until golden brown—fun finger food that’s easy to prepare.
- Pumpkin Deviled Eggs: A twist on classic deviled eggs, using pumpkin puree for color and flavor, perfect for fall gatherings.
- Ghostly Guacamole: Creamy guacamole served with chips shaped like ghosts using cookie cutters—a festive dip option!
- Spider Web Pizza: Personal pizzas topped with mozzarella cheese arranged in a spiderweb pattern—both tasty and thematic.
- Graveyard Veggie Platter: An assortment of vegetables arranged on a platter with dip in the center, decorated with tombstone crackers for effect.
Common Mistakes to Avoid
When making Zombie Dirt Pudding Cups, it’s easy to encounter some common pitfalls. Here are a few mistakes to avoid for the best results.
- Not using chilled milk: Starting with warm milk can affect the pudding’s texture. Always use chilled milk to ensure the pudding thickens properly.
- Overmixing the pudding: Mixing for too long can create bubbles in the pudding. Whisk just until combined and thickened to keep it smooth.
- Skipping the chilling step: If you skip chilling, your pudding cups won’t set correctly. Allow at least one hour in the fridge for the layers to firm up.
- Using stale cookies: Old Oreos may not crush well and can spoil the flavor. Ensure your Mint Oreos are fresh for optimal taste and texture.
- Ignoring decoration options: While candy eyeballs are fun, don’t forget about sprinkles! Adding bone or skeleton sprinkles enhances the spooky look of your dessert.
Refrigerator Storage
- Store Zombie Dirt Pudding Cups in an airtight container.
- They can be kept in the refrigerator for up to 3 days.
- Cover each cup with plastic wrap if not using a container.
Freezing Zombie Dirt Pudding Cups
- Freezing is not recommended as it can change the texture of the pudding and whipped topping.
- If necessary, store in a freezer-safe container for up to 2 months.
- Thaw in the refrigerator before serving.
Reheating Zombie Dirt Pudding Cups
- Oven: Not recommended, as these are served cold.
- Microwave: Avoid using a microwave; it will alter the texture.
- Stovetop: Do not reheat; serve chilled for best results.
Frequently Asked Questions
What are Zombie Dirt Pudding Cups?
Zombie Dirt Pudding Cups are a fun Halloween treat made with layers of crushed Mint Oreos, green pudding, and decorated with candy eyeballs.
Can I customize my Zombie Dirt Pudding Cups?
Yes! You can customize by adding different types of cookies or toppings like gummy worms for more spooky fun.
How long does it take to prepare Zombie Dirt Pudding Cups?
The prep time is approximately 20 minutes, but don’t forget to chill them for at least an hour before serving!
Are Zombie Dirt Pudding Cups suitable for kids?
Absolutely! These no-bake pudding cups are perfect for kids’ parties and Halloween celebrations.
Final Thoughts
Zombie Dirt Pudding Cups are not only a delightful Halloween treat but also incredibly versatile. You can easily customize them with various toppings or flavors to match any occasion. Give this fun recipe a try and impress your friends and family with your creative dessert skills!

Zombie Dirt Pudding Cups
- Total Time: 42 minute
- Yield: Makes approximately 8 servings 1x
Description
Zombie Dirt Pudding Cups are the ultimate spooky dessert for your Halloween festivities! These delightful no-bake treats feature layers of crushed Mint Oreos, vibrant green pudding, and playful candy eyeballs, making them a hit for kids and adults alike. Not only are they visually captivating, but they also deliver a unique flavor experience with the perfect blend of mint and sweet white chocolate. Easy to prepare with just a handful of ingredients, these pudding cups will surely impress your guests and keep them coming back for more. Get ready to create an unforgettable Halloween treat that combines fun, flavor, and creativity!
Ingredients
- 18.7 oz package Mint Oreos (39 cookies)
- 3.3 oz box Instant white chocolate pudding mix
- 2 cups whole milk, chilled
- 6–8 drops green food coloring
- 8 oz tub Cool Whip, thawed
- Candy eyeballs (large and small) for decoration
Instructions
- Twist off one side of 12 Oreo cookies; set aside.
- Crush the remaining Oreos into fine crumbs using a food processor.
- In a mixing bowl, whisk together chilled milk, pudding mix, and green food coloring until thickened (1-2 minutes).
- Gently fold in the thawed Cool Whip until well combined.
- In serving cups, layer crushed Oreos and green pudding alternately until filled, finishing with crushed Oreos on top.
- Chill in the refrigerator for at least one hour to set.
- Before serving, press candy eyeballs into the exposed filling of each cookie and insert into the pudding cups.
- Prep Time: 20 minutes
- Cook Time: None
- Category: Dessert
- Method: No-Bake
- Cuisine: American
Nutrition
- Serving Size: 1 cup (150g)
- Calories: 320
- Sugar: 23g
- Sodium: 220mg
- Fat: 15g
- Saturated Fat: 7g
- Unsaturated Fat: 7g
- Trans Fat: 0g
- Carbohydrates: 45g
- Fiber: 1g
- Protein: 4g
- Cholesterol: 10mg
Keywords: Use chilled ingredients for better texture. Adjust food coloring to achieve your desired shade of green. Customize layers with different cookies or toppings like gummy worms for added fun.